
While Discord is available for use in your favorite web browser, the number of features available may be limited. To get the full Discord experience, you will need to install Discord software on your local machine. Discord can be installed on many operating systems, but this guide will concentrate on Windows, Apple, and Linux. Before installing the application, please make sure that you have created a Discord account.
Topics will include:
- Installing Discord on Windows
- Installing Discord on Apple
- Installing Discord on Linux
- Configuring Discord
Install Discord and join communities that can help you get the most out of your Cloud Server Hosting plan!
Installing Discord on Windows
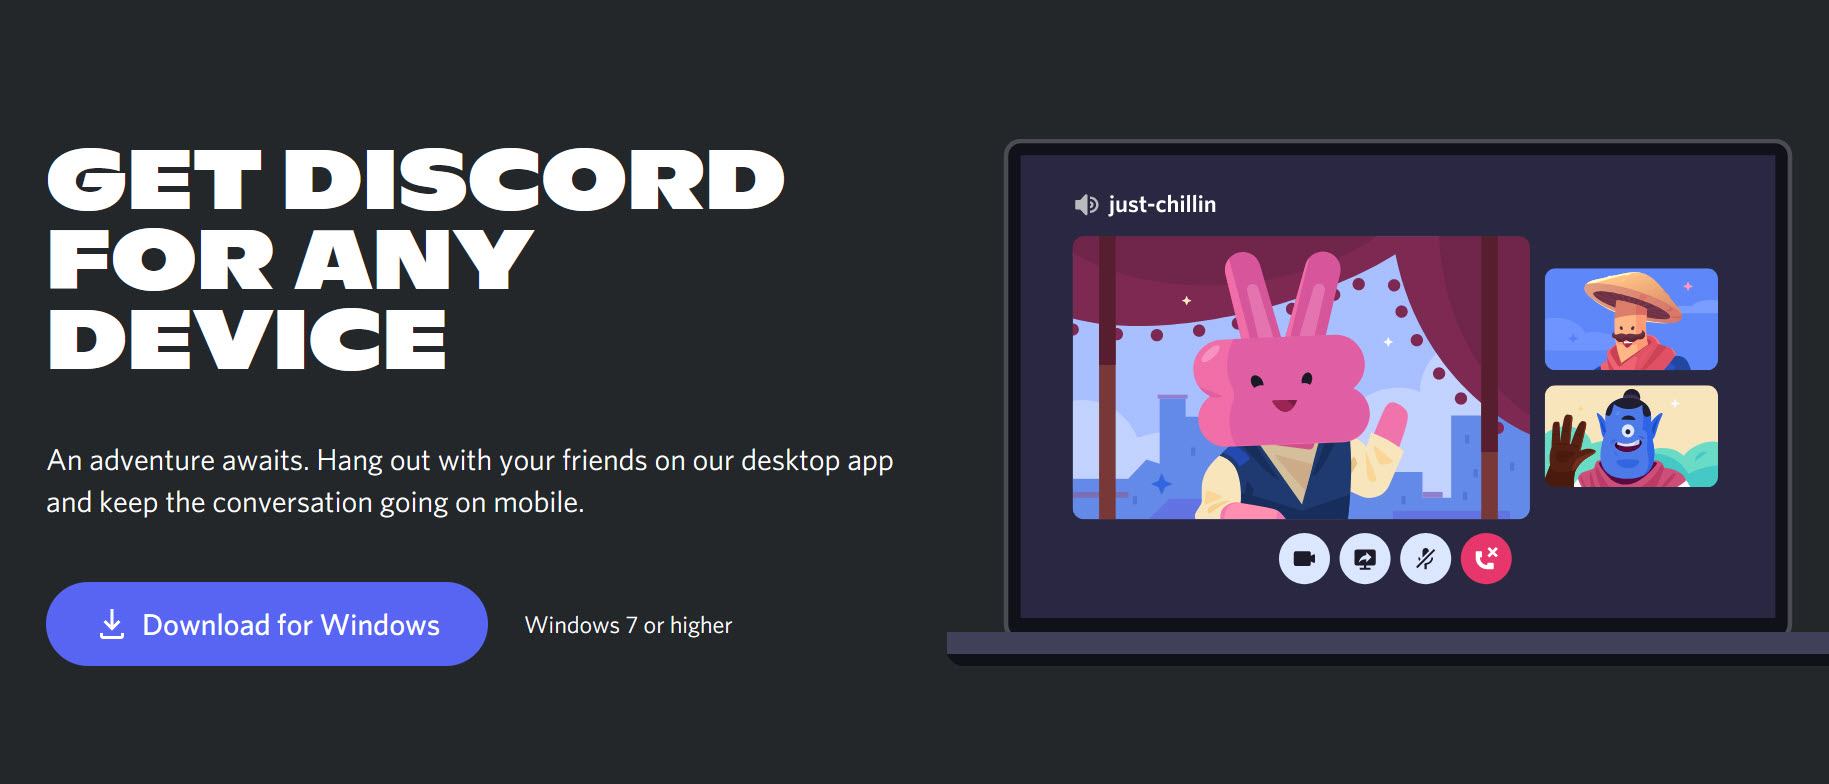
- To download Discord, go to the official Discord.com Download page. You will see Download for Windows as the first option.
- Then, click Download for Windows. Note that the download file is about 67 MB.
- You will be prompted to download the DiscordSetup.exe file. Once it is finished, open the DiscordSetup.exe program by double-clicking on the file to start the installation process.
- The program will then begin to install and download any required updates.
- The program will then ask you to login using your Discord account.
- After entering your login information, you will now be logged into the Discord software.
Installing Discord on Apple
- Installing on an Apple computer is easy! Go to the Discord.com page. It will auto-detect that you’re on an Apple device and provide you the appropriate download option. If you don’t see the Download for Mac option, then click on Downloads at the top of the page and select the download for your Apple computer.

- Click on the button labeled Download for Mac. Note that the file download is about 78 MB.
- You will see a Discord.dmg. Double-click on it to start the install process. Note that this also mounts Discord icon on your desktop. You can close this later.
- You will see small window open that shows the Discord icon and the Applications folder. Simply left click and drag the Discord icon onto the Applications folder.
- This will complete the installation. Click on the Discord icon on your desktop and then select Eject. You can move the installation file to the trash as well, unless you wish to archive it.
Installing Discord on Linux
The process to install Discord on Linux is a bit more complicated than it is for mobile devices, Windows, or Apple computers. The more common Windows or Apple (Mac) operating systems often use a graphical interface for software installation. Linux-based computers oftentimes require the use of the command-line interface to fully install new software applications.
We will explore how to install Discord on Ubuntu, Fedora, and CentOS. Please note that the steps in this article will require the use of the command-line interface.
Installing Discord on Ubuntu
The process of installing Discord on Ubuntu is relatively straightforward in comparison to other operating systems. The Discord for Linux package is available in both tar.gz and .deb formats and can be downloaded directly from the Discord website.
- In your command line, use wget to download the package with the following command:
wget -o discord.deb “https://discord.com/api/download?platform=linux&format=deb”
- Then, install the package using the following command:
sudo dpkg -i /path/to/file/
The /path/to/file/ is the folder path to wherever the package was downloaded.
Installing Discord on Fedora
The Discord application is packaged in the Canary Fedora repository. You can easily download and install it using the DNF package manager.
- In command line, use the following command to enable the Canary repository:
dnf copr enable vishalv/discord-canary
- Next, use the following command to install the package:
dnf install discord-canary
Installing Discord on CentOS 7
To install Discord on CentOS 7, you will first need to install the Snap package manager.
- To install Snap, first ensure that you have enabled the EPEL repository using the following command in your command line:
sudo yum install epel-release
- Once that is done, you can install Snap using the following command:
sudo yum install snapd
- Next, enable Snap using the following command:
sudo systemctl enable --now snapd.socket
- With Snap installed, you can now install Discord using the following command:
sudo snap install discord
Install Discord on your Dedicated Server to set up your own Discord community!
Configuring Discord
If you have never used Discord and you don’t have an account, then the first thing you will need to do is register with Discord.com. If you have an existing account, then you simply have to log in and your previous user profile will load up. We do recommend that you still go through the configuration steps listed below in order to make sure that your audio and any keyboard/mouse shortcuts are set up the way you want them.
- To ensure that your microphone and speakers are connected to the program, click on the small gear on the bottom left side of the Discord homepage to access User Settings.
- On the next page, click on Voice & Video on the left-hand side of the page.
- On this page, use the drop-down menus at the top to select which devices will be used with Discord. The input device will be your webcam or headset microphone, while the output device will be your speakers or headphones.
- In addition to changing the devices, you can also adjust the input volume to adjust how loudly your voice is transmitted over Discord as well as the output volume to adjust how loudly other users’ voices will be played back via your speakers or headphones.
- Next, you will want to choose your microphone input mode:
Push-to-Talk: Allows you to designate a button on your mouse or keyboard to act as a Push-to-Talk key, meaning that you will have to press that button to transmit your voice over Discord.
Voice Activation: Allows you to simply start speaking in order to start transmitting your voice. The volume at which the microphone activates is determined by the “Input Sensitivity” slider below the input modes.
Now that you have all of your input and output devices configured, you are all set to start using Discord!
Congratulations! You now know how to configure and install Discord. For more information on using Discord, check out our other guides/articles at the Discord educational channel.
Installation has failed and would not allow me to download again when I could download before.
Hi Eve! Sorry to hear that you’re running into trouble installing Discord. If the files are no longer available, or if the installation files are not properly downloading with the installer, I’d advise contacting Discord’s Support Team directly as they may be having issues on their end.
my discord will not open due to error and I can not fix it
Hello and thanks for contacting us. We’d be happy to further assist you once you share more info regarding the error(s).
instalation has failed
If you can provide more information on what you did before it fell, we’ll try to assist you.